In the fast-paced world of gaming, every millisecond counts. If you own a gaming laptop with a 120Hz refresh rate, you already have a powerful tool for smoother gameplay, reduced input lag, and an ultra-responsive experience. But simply having a 120Hz display isn’t enough—you need to optimize your laptop to make the most of it.
Why Does Gaming Laptop for 120Hz Matter in Gaming?
A standard 60Hz display refreshes the screen 60 times per second, while a 120Hz panel refreshes twice as fast, delivering ultra-fluid motion and eliminating screen tearing and stuttering. This is especially crucial for competitive gamers who rely on quick reactions in fast-paced titles like Call of Duty, Valorant, and Fortnite.
Benefits of Optimizing Your Gaming Laptop for 120Hz
- Smoother Gameplay: Higher refresh rates reduce motion blur, making fast movements appear more fluid.
- Lower Input Lag: Your laptop registers your commands more quickly, giving you a competitive edge.
- Enhanced Visual Clarity: Objects in motion appear sharper, helping with aiming and tracking enemies.
- Better Overall Performance: Optimizing settings ensures you consistently hit 120 FPS to match your refresh rate.
What You’ll Learn in This Guide?
In this blog, we’ll cover step-by-step optimization tips to help you unlock the full potential of your 120Hz gaming laptop. From enabling Gaming Laptop for 120Hz in settings to tweaking in-game graphics, updating drivers, and reducing background processes, we’ll ensure you get the best possible performance. Whether you play games for fun or a competitive esports player, these optimizations will help you achieve buttery-smooth gameplay with zero compromises.
1. Check and Enable 120Hz Refresh Rate on Your Gaming Laptop
One of the first steps to optimizing your gaming laptop for 120Hz gameplay is ensuring that your display is actually running at Gaming Laptop for 120Hz . By default, Windows may set your refresh rate lower, limiting your gaming performance. Here’s how to check and enable it:
How to Check Your Current Refresh Rate in Windows?
- Press Windows + I to open Settings.
- Navigate to System > Display.
- Scroll down and click on Advanced display settings.
- Look for Refresh Rate (Hz) to see your current setting.
How to Enable 120Hz in Display Settings?
If your laptop supports 120Hz but isn’t using it, follow these steps to enable it:
- Go to Advanced display settings (as mentioned above).
- Click on Display adapter properties.
- In the new window, go to the Monitor tab.
- Under Screen refresh rate, select 120Hz from the dropdown.
- Click Apply, then OK to save changes.
Troubleshooting: What If Gaming Laptop for 120Hz Isn’t Available?
If you don’t see the 120Hz option:
- Check your HDMI or DisplayPort connection – Some cables don’t support high refresh rates.
- Update your graphics drivers (see the next section).
- Ensure Windows is detecting the correct display driver under Device Manager > Display adapters.
- Lower the resolution – Some laptops only support 120Hz at specific resolutions.
By enabling 120Hz, you unlock smoother gameplay, faster response times, and an overall better gaming experience.

2. Update Graphics Drivers for Optimal Performance
When it comes to gaming at high refresh rates, your graphics computational unit (GPU) is essential. Outdated drivers can limit performance, cause screen flickering, and even prevent 120Hz from working properly. Keeping your GPU drivers up to date ensures better FPS, improved stability, and optimized settings for the latest games.
Why Updating GPU Drivers is Important?
- Boosts Gaming Performance: New drivers come with optimizations for the latest games, improving FPS and reducing lag.
- Fixes Bugs & Compatibility Issues: Outdated drivers can cause crashes, screen flickering, and stuttering.
- Enables New Features: GPU manufacturers release updates that enhance ray tracing, DLSS, and FreeSync/G-Sync.
How to Update NVIDIA and AMD Drivers?
For NVIDIA Users:
- Open the NVIDIA GeForce Experience app (download it from NVIDIA’s website if you don’t have it).
- Navigate to the Drivers tab.
- Click Check for new Updates.
- If an update is available, click Download button and then Install.
For AMD Users:
- Open the AMD Radeon Software (or download it from AMD’s official website).
- Go to the Drivers & Software section.
- Click Check for firmware Updates.
- If an update is available, click Download button and then Install it .
Manually Updating Graphics Drivers (Alternative Method)
If you prefer a direct approach, you can update drivers manually:
- Visit the official NVIDIA or AMD website.
- Enter your GPU model and laptop details.
- Download the latest driver and install it.
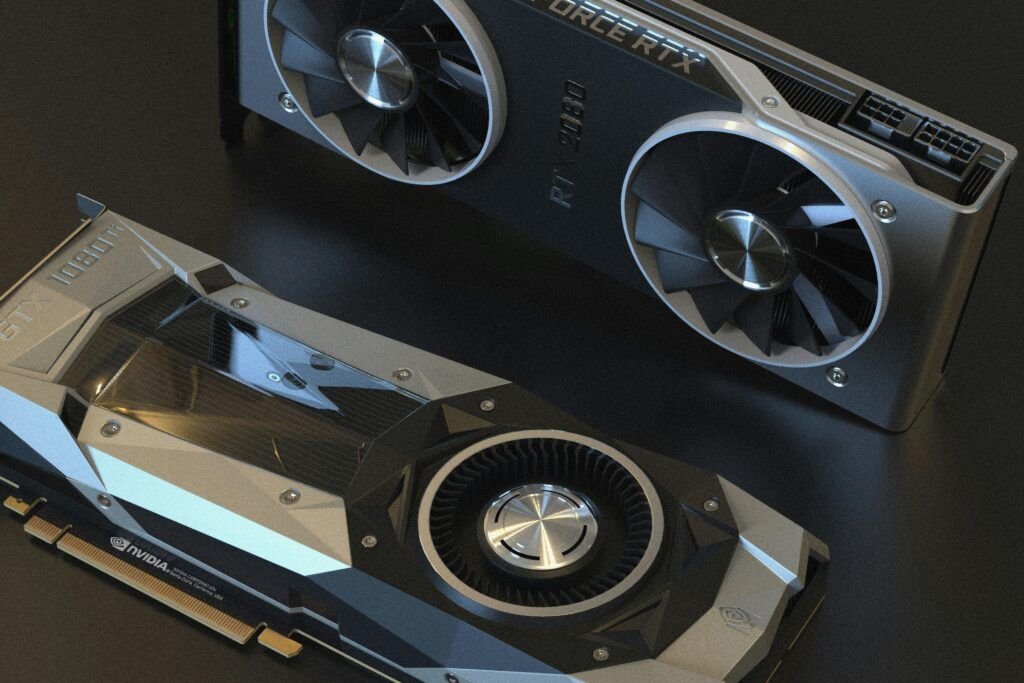
By keeping your graphics drivers updated, you’ll maximize your laptop’s potential, ensuring smooth, high-FPS gameplay that fully utilizes your Gaming Laptop for 120Hz refresh rate.
3. Adjust Power Settings for Maximum Performance
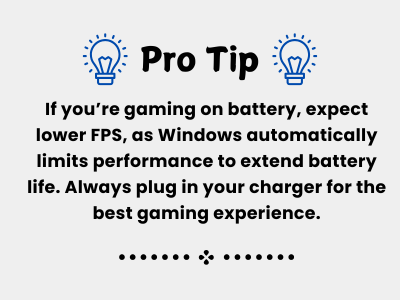
To fully utilize your Gaming Laptop for 120Hz refresh rate, you need to ensure it’s running at maximum performance mode. Windows often defaults to balanced or power-saving modes, which can limit CPU and GPU performance, preventing you from achieving a stable 120 FPS.
How to Set Power Mode to “High Performance” in Windows?
- Press Windows + I to open Settings.
- Navigate to System > Power & battery (or Power Options in older versions).
- Under Power mode, select Best performance (on Windows 11) or High performance (on Windows 10).
Tweaking Advanced Power Settings for GPU and Processor
- For further optimization, adjust the advanced power settings:
- Select Power Options from the Control Panel.
- Next to High efficiency, select Change plan options.
- Set the minimal processor state to entirely and extend processor power management.
- To avoid GPU throttling, expand PCI Express > Link State Power Management and turn it off.
To save the changes, click Apply and then OK.
These settings ensure your laptop delivers maximum CPU and GPU performance, helping maintain 120 FPS for smoother gameplay.
4. Optimize In-Game Settings for 120Hz Gaming
Even if your laptop supports Gaming Laptop for 120Hz, achieving 120 FPS or higher requires optimizing your in-game graphics settings. Running demanding games at ultra settings can lower FPS, causing screen tearing or lag.
Best Graphics Settings to Maintain High FPS
Adjust the following settings in your game’s graphics menu to balance visual quality and performance:
- Ambient Occlusion & Post-Processing Effects: Set to Low to boost performance.
- Resolution: Stick to your native resolution (e.g., 1080p or 1440p). Lowering it may improve FPS but reduces clarity.
- Texture Quality: Medium to High (Ultra settings can significantly lower FPS).
- Shadows & Reflections: Set to Low or Medium (high settings are GPU-intensive).
- Anti-Aliasing: Use FXAA or TAA, but avoid MSAA, which is very demanding.
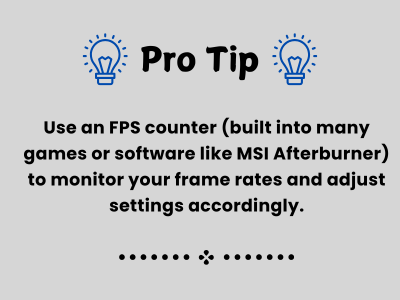
Lowering Unnecessary Effects to Ensure Stable 120 FPS+
Disable or reduce the following settings to avoid FPS drops:
Motion Blur – Unnecessary and can make fast movements look messy.
Depth of Field – Not needed for competitive gaming, as it blurs backgrounds.
Ray Tracing – Beautiful but very demanding; disable it for high FPS. V-Sync – Turn off unless experiencing screen tearing (see below for alternatives).
Enabling V-Sync, G-Sync, or FreeSync (If Applicable)
- V-Sync: Helps reduce screen tearing but can introduce input lag. Use only if needed.
- G-Sync (NVIDIA) & FreeSync (AMD): If your laptop’s display supports it, enable it for smoother, tear-free gaming without input lag.
By fine-tuning your in-game settings, you’ll ensure your gaming laptop consistently delivers 120 FPS or higher, taking full advantage of your Gaming Laptop for 120Hz refresh rate for buttery-smooth gameplay.
5. Reduce Background Processes & Improve System Efficiency
For your gaming laptop to achieve consistent 120 FPS and fully utilize its Gaming Laptop for 120Hz refresh rate, it must operate efficiently. Background applications and unnecessary system processes can consume CPU, RAM, and GPU resources, leading to performance drops. Here’s how to optimize your system for peak gaming performance.
Disable Unnecessary Startup Programs
Many applications automatically launch when you start your laptop, consuming valuable system resources. Disabling them will free up memory and processing power.
How to disable startup programs:
- Press Ctrl + Shift + Esc to open Task Manager.
- Navigate to the Startup tab.
- Identify programs you don’t need running at startup (e.g., Discord, Spotify, Adobe apps).
- Right-click and select Disable.
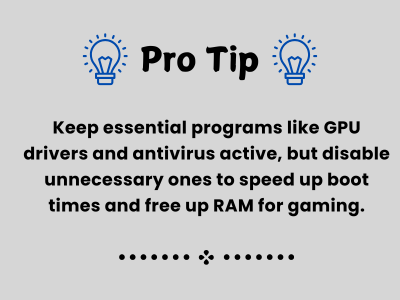
Use Task Manager to Close Resource-Heavy Applications
Even while gaming, background apps can drain system resources, reducing FPS and causing lag.
How to close unnecessary background apps:
- Open Task Manager (Ctrl + Shift + Esc).
- Go to the Processes tab.
- Look for high CPU, RAM, or GPU usage (e.g., Chrome, OneDrive, background video editors).
- Right-click the process and select End task.
Warning: Do not close system-critical processes like Windows Explorer or GPU drivers, as this may cause system instability.
Enable Game Mode in Windows for Performance Boost
Windows has a built-in Game Mode that optimizes system performance by prioritizing gaming processes.
How to enable Game Mode:
- Press Windows + I to open Settings.
- Go to Gaming > Game Mode.
- Toggle Game Mode to On.
Game Mode ensures your CPU and GPU focus on gaming, preventing unnecessary system updates and background processes from interfering.
By reducing background tasks and enabling Game Mode, your laptop can deliver higher FPS and smoother performance while gaming at Gaming Laptop for 120Hz.
6. Use an External Monitor for Better Refresh Rate
While your gaming laptop’s built-in Gaming Laptop for 120Hz display is great, using an external high-refresh-rate monitor can further enhance your gaming experience. External monitors often offer better response times, higher resolutions, and improved color accuracy, making them ideal for competitive gaming.
How an External Monitor Improves Gaming Performance
- Higher Refresh Rates Available – Many gaming monitors support 144Hz, 165Hz, or even 240Hz, providing even smoother gameplay.
- Larger Screen & Better Visibility – A 27-inch or 32-inch monitor offers a bigger field of view compared to a 15-inch or 17-inch laptop screen.
- Reduced Motion Blur & Input Lag – Dedicated gaming monitors are optimized for faster response times (1ms to 3ms), improving reaction speed in fast-paced games.
Choosing the Right Monitor for 120Hz Gaming
When buying an external monitor for 120Hz+ gaming, consider these key factors:
- Refresh Rate – Choose a 144Hz or higher monitor for smoother gameplay.
Resolution – 1080p is ideal for performance, but 1440p or 4K can provide better visuals (ensure your GPU can handle it). - Response Time – A 1ms or 2ms response time prevents ghosting and motion blur.
G-Sync or FreeSync Support – Helps eliminate screen tearing for a better gaming experience.
Connectivity – Ensure the monitor has HDMI 2.0/2.1 or DisplayPort 1.4 to support high refresh rates.
How to Connect & Configure an External Display for 120Hz+
- Connect the monitor using a DisplayPort or HDMI cable (avoid HDMI 1.4 as it may not support high refresh rates).
- Press Windows + I to open Settings > System > Display.
- Scroll to Multiple displays and select Extend these displays or Second screen only if you prefer.
- Click Advanced display settings, choose your external monitor, and set Refresh Rate to 120Hz (or higher).
- Apply the settings and enjoy smoother gameplay.
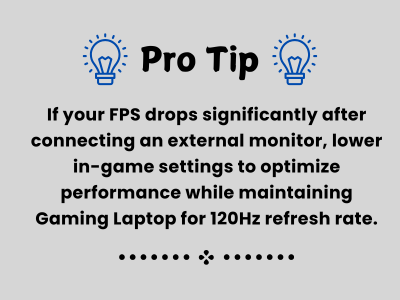
By using an external gaming monitor, you can experience even smoother motion clarity, faster response times, and a competitive edge, making your 120Hz gaming setup even better.
7. Keep Your Laptop Cool to Prevent Thermal Throttling
One of the biggest threats to consistent Gaming Laptop for 120Hz performance is thermal throttling. When your CPU and GPU get too hot, they automatically reduce their clock speeds to prevent damage, causing FPS drops, stuttering, and lag. Keeping your laptop cool is crucial for stable gaming performance.
Why Cooling is Important for 120Hz Gaming?
- Prevents FPS Drops – Overheating causes performance throttling, reducing FPS.
- Extends Hardware Lifespan – High temperatures degrade your CPU, GPU, and battery over time.
- Improves System Stability – A cooler laptop runs smoother and more efficiently.
How to Keep Your Gaming Laptop Cool ?
Use a Cooling Pad or External Fans
- A laptop cooling pad improves airflow, reducing internal temperatures.
- External USB-powered fans help dissipate heat more effectively.
Clean Dust Buildup from Fans & Vents
- Over time, dust clogs cooling fans, reducing airflow.
- Use compressed air to clean vents and fans every few months.
Repaste Thermal Paste (For Advanced Users)
- Thermal paste dries out over time, leading to higher temperatures.
- Reapplying high-quality thermal paste (like Arctic MX-4 or Thermal Grizzly) can lower CPU/GPU temps by 5-10°C.
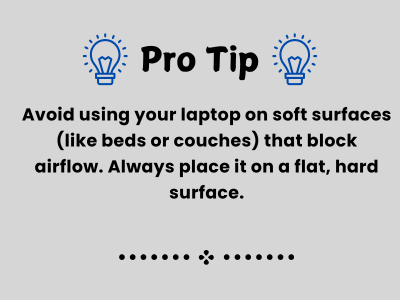
By keeping your laptop cool and well-maintained, you ensure consistent Gaming Laptop for 120Hz performance without FPS drops caused by overheating.
8. Optimize Network Settings for Online Gaming
A high refresh rate is useless if your internet connection lags during online gaming. Lower latency and stable internet speeds are essential for smooth, responsive gameplay.
Why Low Latency is Important for Gaming Laptop for 120Hz Gaming ?
- Reduces Input Lag – Lower ping ensures faster response times.
- Prevents Packet Loss – A stable connection helps maintain smooth motion.
- Enhances Multiplayer Performance – Less lag means fewer delays and disconnects.
How to Optimize Network for Lag-Free Gaming ?
Use a Wired Ethernet Connection Instead of Wi-Fi
- Ethernet connections provide a faster, more stable connection.
- If Wi-Fi is your only option, use a 5GHz network instead of 2.4GHz.
Adjust Router Settings for Better Gaming Performance
- Enable Quality of Service (QoS) in your router settings to prioritize gaming traffic.
- Disable unnecessary devices on the network while gaming.
Use a Gaming VPN (If Needed)
- A gaming VPN can reduce ping and prevent ISP throttling.
- Choose a VPN with low-latency servers (like ExitLag or NordVPN).
By optimizing your network settings, you’ll experience smoother online gameplay with fewer connection drops and faster response times.
9. Overclocking GPU for Extra Performance (Advanced Users)
If your gaming laptop struggles to maintain 120 FPS, GPU overclocking can give you a performance boost. However, overclocking comes with risks, so it’s only recommended for advanced users.
Pros & Cons of Overclocking
- Increases FPS – Overclocking boosts GPU clock speeds, improving performance.
Better Performance in Demanding Games – Helps maintain higher FPS at Gaming Laptop for 120Hz. - Increases Heat & Power Consumption – Requires better cooling to prevent overheating. Potential Stability Issues – If overclocked too much, games may crash or freeze.
How to Safely Overclock Your GPU Using MSI Afterburner ?
- Download & Install MSI Afterburner (a free, trusted overclocking tool).
- Increase Core Clock Speed by +50 to +100 MHz (start small to avoid crashes).
- Increase Memory Clock Speed by +100 to +200 MHz for better texture loading.
- Monitor GPU Temperature & Stability – Keep temps below 85°C.
- Test Stability – Run 3DMark, FurMark, or play a game for 30+ minutes to check for crashes.
Overclocking can help you push your hardware to its limits, achieving smoother gameplay at 120Hz. However, do it carefully to avoid long-term damage.
Optimizing your gaming laptop for 120Hz requires hardware tweaks, software optimizations, and system maintenance. Here’s a quick summary of the key steps:
Final thoughts
- Enable Gaming Laptop for 120Hz in Display Settings – Ensure your screen is running at full refresh rate.
- Update Graphics Drivers – Keep NVIDIA or AMD drivers up to date for better FPS.
- Adjust Power Settings – Set High Performance Mode for maximum CPU/GPU output.Optimize In-Game Settings – Adjust graphics for stable 120 FPS.
- Reduce Background Processes – Free up RAM & CPU for better gaming performance.
- Use an External Monitor – Upgrade to a higher refresh rate display for even better visuals.
- Keep Your Laptop Cool – Prevent thermal throttling with proper cooling.
- Optimize Network Settings – Reduce ping and lag for smoother online gaming.
- Overclock GPU (Advanced Users) – Boost FPS for demanding games.
By following these optimization tips, you’ll unlock the full potential of your gaming laptop, ensuring smooth, buttery Gaming Laptop for 120Hz gameplay with minimal lag and maximum FPS.
Big Tech Regulations & Data Privacy in 2025: How the US and EU Are Shaping the Digital Future?
